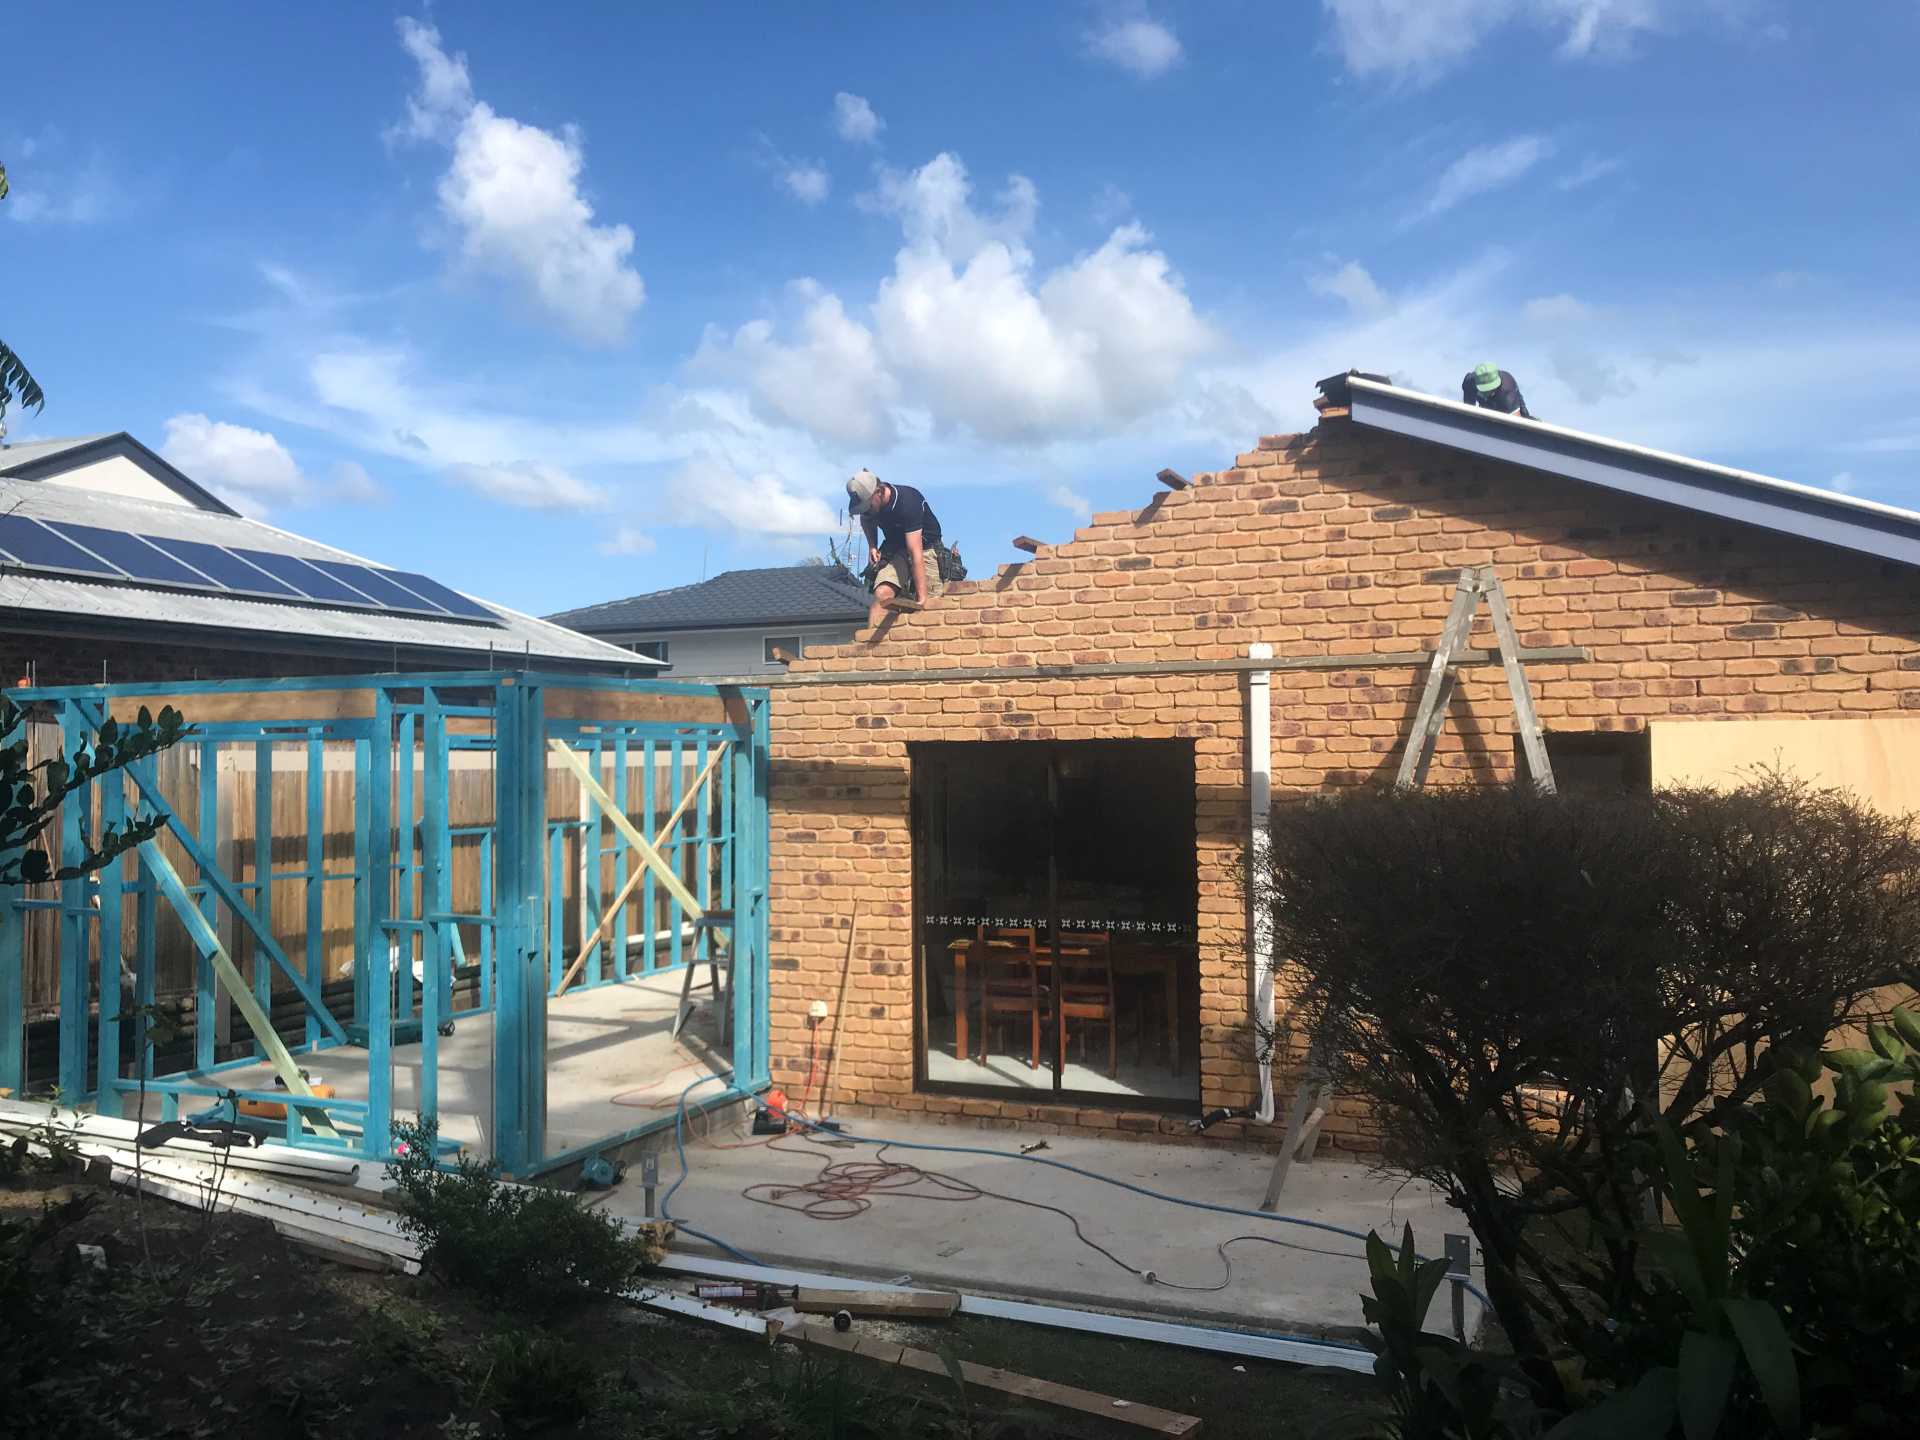
Home extensions, what you need to know & do.
If your current home is too small and not accommodating your requirements, an extension will offer endless possibilities. The first question is, do you go up ..or out? Which one is actually viable on your block?
In this article we’ll give you a quick overview of what you need to do.
Step 1: Research & feasibility
With any building project you also need to identify boundary set-backs (the distance the building must be from the boundary) and locate where power, water and sewage amenities come into your property. Call before you dig is also a great place to start and it’s free.
Next, to determine whether you build up or out. Start with your “site coverage”. That is, the proportion of a block that’s covered by buildings and structures. Sunshine Coast Council and Noosa council have their own town plan, but they are reasonably aligned for residential building works.
Your task, is to find out what the proportion of buildings & structures (the current home, carport, garage or patio roof) is on the entire block. If the total is less than 50%, you have room to extend out.
If the total is 50% or more, your only option is to build up with a second storey extension. This requires the boundary setback measurements. Boundary markers are often moved for fences and gardens so it pays to invest in professional surveyor marking. After all, you could potentially use the wrong information, build too close to your boundary, and not get your certification at the very end.
This won’t affect your site coverage allowance, but the total height must stay within 8.5m or less. Less, depending on the homes setback from the side boundary. For example, if your roof is 2m away from the boundary, your maximum height reduces to 7.5m, then runs at a 45-degree angle until you reach the 8.5 m height. If it’s 1.5m from the side boundary, it becomes 4.5m and runs at a 45 degree angle until it reaches 8.5m.
Step:2 Engineering
Assessing whether your home is structurally sound for a second storey is the next part of feasibility. When you build up, you will also require an engineering assessment to assess the structural integrity of the foundations and the current roof. After all your home must be able to support a new level.
If your block is on a slope of 15% or greater, like all home building projects you need a slope analysis report and a soil test to assess if the ground is stable, and to determine foundation requirements. Items such as retaining walls, reinforced concrete columns, suspended slabs all require engineering. And your builder will help advise you accordingly.
Step 3: Your budget
Does what you want to achieve, match your budget? How large is this extension going to be, what level of finish do you want, will you do some work yourself or will you let a subcontractor manage all of it?
If you’re extending out, how many rooms are you building, what fittings & PC items are required? If you’re building up, does any work need to be done to the existing house structure to support the next storey. Planning for unexpected costs is a must because there are often problems hidden behind plasterboard and paint.
Your budget needs to factor in work to prepare your home, rectify any unforeseen issues as well as the homes extension.
Step 4: Council approval & relaxations
Because your extension changes the structure, council approval is required through a professional certifier with preliminary plans. You can obtain these through your building designer or architect. You’ll need approval regardless of your site coverage and height because you are making structural changes.
Sometimes overlays such as landscape, vegetation or heritage can be attached to the property title that means any changes to your property have to be council approved. If overlays exist, or if other standards like fire or flood zones are in place, you will need to go through a formal planning process with the council. These overlays will need to be addressed in the plans.
You can build up to 6m from the front boundary, any closer requires a council relaxation. You may require a relaxation to build over your maximum site coverage for a home extension or to build over 8.5m height or closer than 1.5m from the side & rear boundaries. We strongly advise you apply for relaxations through a registered certifier.
Step 5: Design & working plans
These plans help the builders to accurately price your project. These days you can engage a Building Designer for plans, then an interior designer for the finished home complete with furnishings. Alternatively, you can approach an architect for the full package from the working plans, specifications, colours, handles, tiles, project management – basically everything. Your choice comes down to the budget.
The architect or building designer will require all engineering plans & council relaxations to draw your plans.
Step 6: Find your builder
The best way to find the right builder is to ask around for honest customer experiences. Check out third party reviews, ask other trades who they work mostly with, look for full licensing, insurances, past and present work.
There is so much more than price to look at, and it is hard to compare apples with apples when quotes are not itemised in the same way. Cheap is never the best option. It’s common for items to be left off quotes, then added once the job starts as variations. This happens for many reasons and is sometimes just in- experience, so educate yourself on what everything means so that you can make an informed decision. Although fixed, Provisional Sums and Prime Cost items can increase the contract price, in todays pandemic world materials are always increasing in price so bear this in mind.
This is going to be a close working relationship so choosing the best fit is vital.
Step 7: sign the contract & pay your deposit
Builders will use their preferred industry association contract which outlines the projects amount, specifications and payment plan. It should also include copies of the engineering and working plans to ensure you are working off the final plans and information. Once this is all signed and your deposit and fees are paid your project is away!
Step 8: practical completion & occupancy certificate
Once the extension is completed, the certifier will conduct their final inspection and issue a Form 21. You’ll receive a final invoice for Practical Completion from the builder. You will need to write down any defects so that the builder can address them – if you haven’t already addressed them during the build. Once all of this is addressed and resolved, the builder will handover. This is where the builder’s insurance ends, and your home insurance begins


